
But it means taking care of more animals.
If you only own a snake or two, it simply is not worth it.
You can find any size rat or mouse on Amazon these days (see here) and they don’t cost that much. Of course, those are always frozen.
If you want to feed your snake live rats (not generally a good idea, since they can injure the snake), you’ll probably have to breed them yourself anyway.
And the truth is: it’s not overly difficult.
Keep reading to learn everything you need to know to successfully breed rats or mice for your pet snake.
Table of Contents
Breeding Rats For Snake Food
Just because you are breeding rats to feed your snake does not mean they need to live miserable lives. It is best and most humane to try to set up an enjoyable space for your rats while they live their lives.
That’s what we will help you with today.
Things You Will Need
- Several containers for different reasons: the clear containers/tubs with lids are best; they need to be big enough to hold the rats or mice with enough room for them to move around.
- One container for male rats
- One container for female rats or mice
- One container for the female rat to have the babies and raise them in (if you plan to have more than one breeding female you need a separate container for each one to raise the babies in).Rat cage bedding (you can use shredded newspaper but it’s not as good)
- Water bottles for each container
- Food bowls for each container
- Male rat: at least one
- Female rat: at least one, though a couple are better
Step 1: Set Up Your Rat Cages
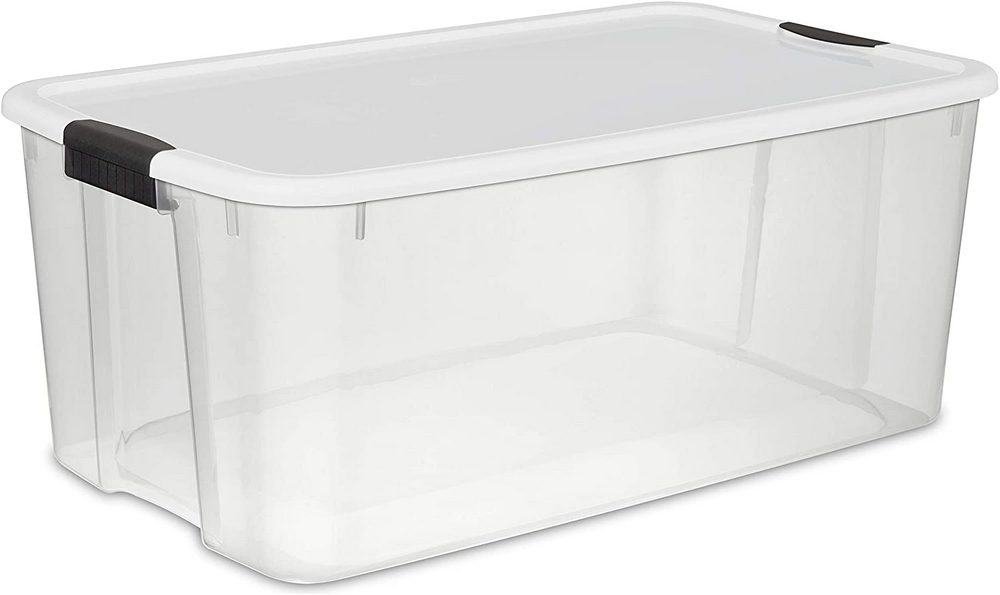
Depending on how many females you intend on breeding, you will have several rat living environments you need to prepare
Even though you will be breeding the rats to feed to snakes, you should still take great care to make sure their living situation is pleasant and clean.
Since rats are very intelligent it would be cruel to make them live in dirty overcrowded cages. Not only is it smelly, it is also bad for your snake in the end to have unhealthy and miserable rats.
Here are the steps you need to take to get the cages set up.
1. Clean The Cages
Each container you get will need to be fully cleaned out before you put any rats in it. The commercially available containers have tons of bacteria and contaminants in them from being shipped and handled by so many people in the supply chain.
Normally you would not have to do this, if you were buying rat cages from a pet store, since they are stored and shipped in boxes and are made to have live animals inside. But since we are trying to save money by using storage tubs, this step is needed.
Sterilize The Tubs With Bleach Solution

The most effective way to sterilize these tubs is to use a solution consisting of a small amount of bleach in water.
Just one capful of bleach in a quart of water is enough to kill any bacteria or microorganisms that may be living on the plastic tubs.
Take a small washcloth and get it completely saturated with the solution. Then wipe down the entire outside and inside of each tub, as well as the top and bottom of the lids.
Wring out and clean the cloth in a sink, then get some more solution on it for the next tub and lid. This avoids transferring any dirt or germs from one tub to the next.
2. Prepare The Lids
Since you will be housing rats in these tubs, and rats can jump and climb, the tubs will need to have their lids attached.
But you do not want to simply close your tubs with the lids securely attached, because your rats would suffocate. And that is a terrible and inhumane way to die.
To avoid this, you will need to cut holes in your plastic lids. Ideally, a drill with a ¾ inch drill bit would make the perfect-sized breathing holes for your rat cages.
If you have a drill with the bit I described, make a hole every 4 inches all over the top of the tub lid. This will give plenty of air to the container and allow for carbon dioxide to escape, as well as providing some ventilation for the rats.
Make sure you wipe out your tub after drilling the holes because the plastic shavings could harm the rats and make them sick if they eat them.
If you don’t have a drill and drill bit, you can get away with making small 1/2 inch holes with a sharp knife, although this will take a bit longer and not look as nice.
With the lid attached to the tub, take the knife and cut a small hole every 4 inches or so. When you are done, dump out the plastic bits.
3. Place The Rat Cages Away From Your Snake
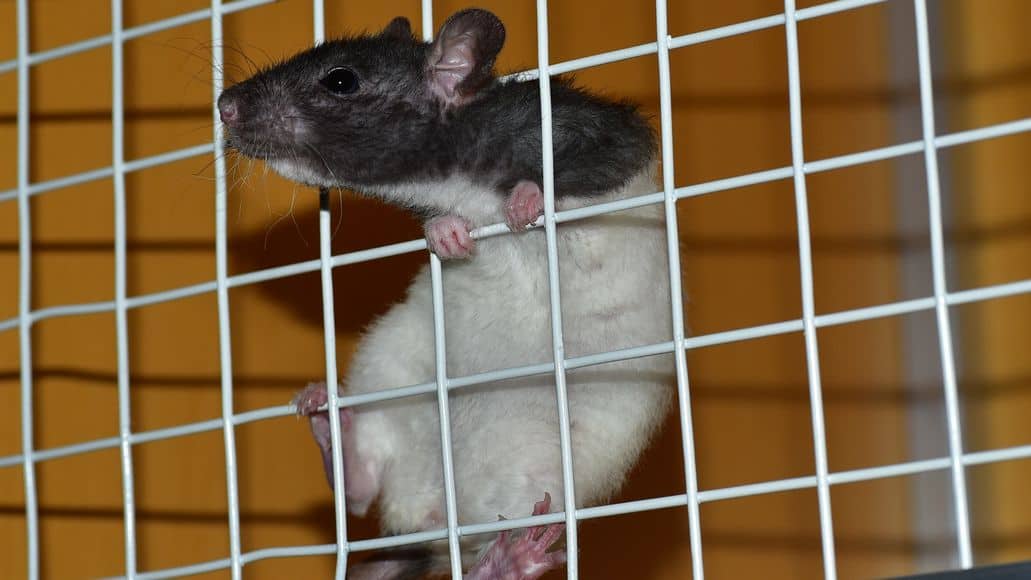
Do not keep the rats in the same area as your snake. Rats are extremely intelligent and there is no need to terrify them every day of their lives by having them see a huge predator looking at them.
Keep the rat breeding operation in a different room of the house, or at the very least, do not let them see the snake cage.
As a side note, when you do feed them to the snake, make sure no other rat sees it. It is just cruel.
4. Add Bedding
Start by adding the substrate to your clean sterile tubs. The commercially available bedding that is designed for rats is the safest and they like it the best.
The paper pellet bedding is the best because it does not produce as much dust and fibers as the shredded cardboard kind. Those can give your rats respiratory issues and make them sick, which is bad for your snake.
Pour the pellets into the tub and spread them around so the bedding is even in the bottom of the cage. It should be at least an inch and a quarter thick.
You could set up a corner litter box for them to go to the bathroom, because rats can be potty trained. That said, you probably don’t want to spend time doing that.
However, just making a small box in the corner with some cat sand may entice them to use the corner to do their business, which makes your life easier.
You will need to change the substrate less often if they use a corner to go to the bathroom. Otherwise, you will be changing the pellets every couple of days.
5. Provide Water & Food
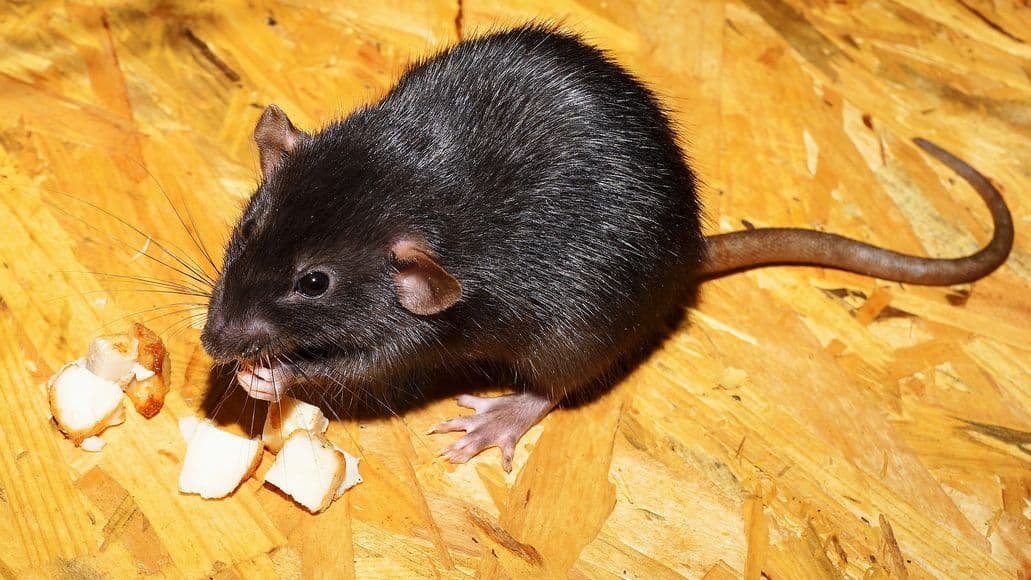
Rats are very intelligent and clean animals, despite their reputation, so it is best to set up the food and water on opposite sides of the cage.
This avoids the water getting in the food and the food becoming mushy and gross.
A ceramic food bowl is best, and they are widely available at pet stores. Ceramic is easy to clean and will last a long time.
You will need to clean the bowl at least every couple of days to make sure any germs are removed and avoid any rats getting sick.
For the water, the hanging water containers with the metal tubes and balls on the end work great and are a clean, easy way to keep your rats hydrated.
You may need to customize your water bottle bracket or your plastic tub to make it work, but it is not difficult to do. Worst case: you can simply use a wire hanger to create a new bracket.
Change your rats’ water every day, and make sure they have fresh food daily as well.
6. Provide Entertainment (Optional)
If you have a few extra dollars, you can set up a cool obstacle course or play set in the main cage. This will allow the rats to have a bit of fun and also keep them healthier.
Being healthier and happier not only benefits the rats, but your snake as well. There are lots of cool rat toys you can get that will provide some fun for them.
Step 2: Breeding
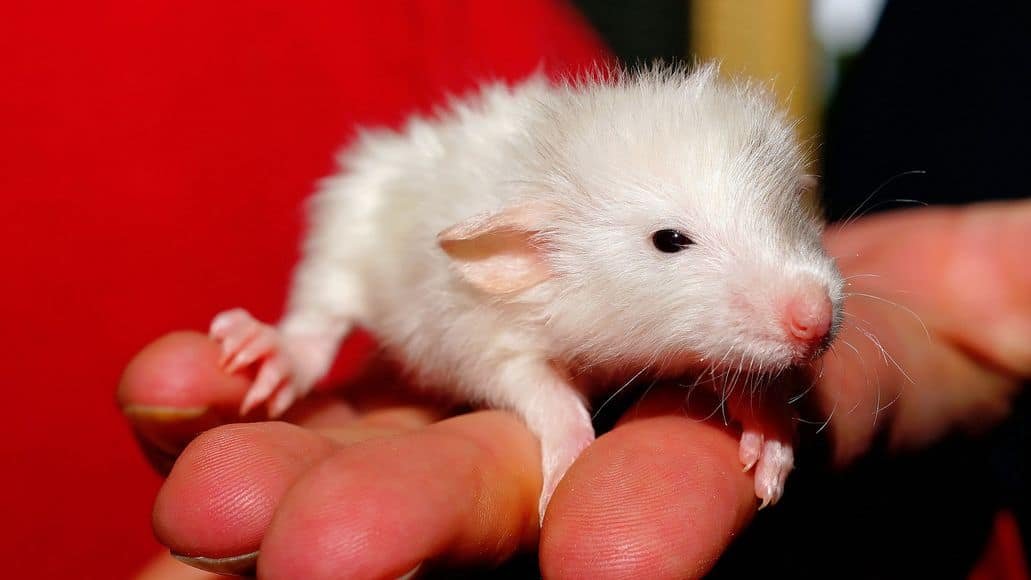
Separate your male and female baby rats when they get to be about four weeks old. Rats can mate very early in life, and you do not want to have too much breeding going on.
You can go from a handful of rats to hundreds, and it will become unmanageable and out of control.
Take a female and male rat and place them in the breeding tub. Once they mate, separate them again, placing the male back into the male tub.
They will mate over and over once the female is receptive, so it is a good idea to leave them together for a day or so to make sure the female becomes pregnant.
Watch The Female
You will be able to tell if your female is pregnant after a week or so. Rats have a gestation period of about 20 to 29 days.
The female will begin making a nest when the time to have the babies is approaching. When she is having the babies, leave her alone and do not disturb her.
Immediately after she has the babies, she will be more hungry. You should give her a bit more food during this time.
Step 3: Feed Your Snake
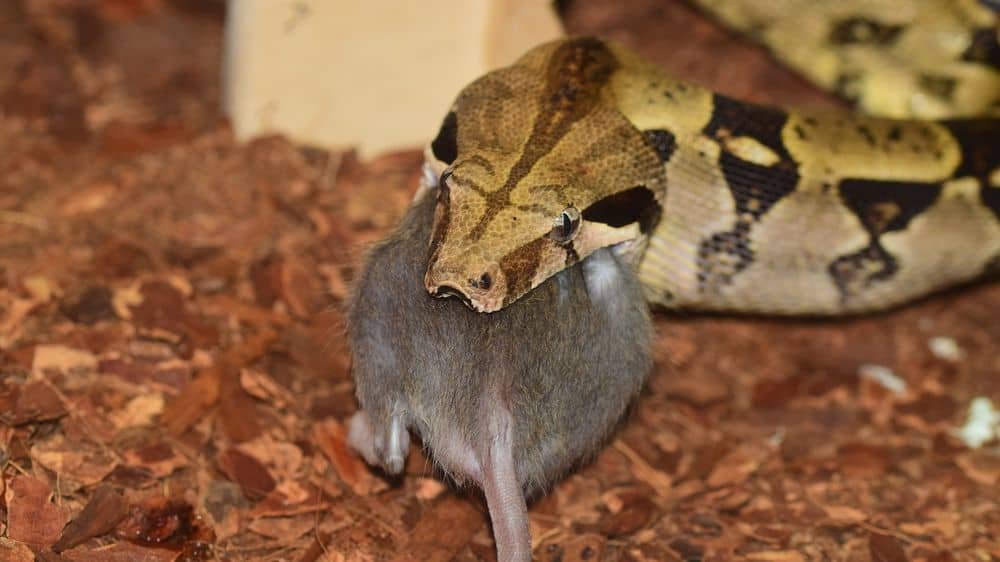
Once your babies are big enough to feed to your snake, separate them from the mother. Depending on your species of snake, the right size may be when they are just a few weeks old.
With other snakes, they will need to be nearly full grown. Either way, be sure to separate the male and female babies when they are around four weeks old, to avoid having an explosion of baby rats.
Breeding Rats For Snakes: Final Thoughts
As you can see, breeding rats for snake food is not especially difficult. But it does mean keeping more pets. If you only own a snake or two, it is not generally worth the extra effort, unless you specifically want to feed your snake live rats.
For most people, I recommend buying frozen rats or mice from a pet store or an online shop like Amazon. Yes, they cost more, but the difference is not huge for a single snake, or a handful of them.
Breeding your own rats only makes sense if you have a lot of snakes, or if you are doing it commercially, i.e. selling the rats to other snake owners.
Leave a Reply